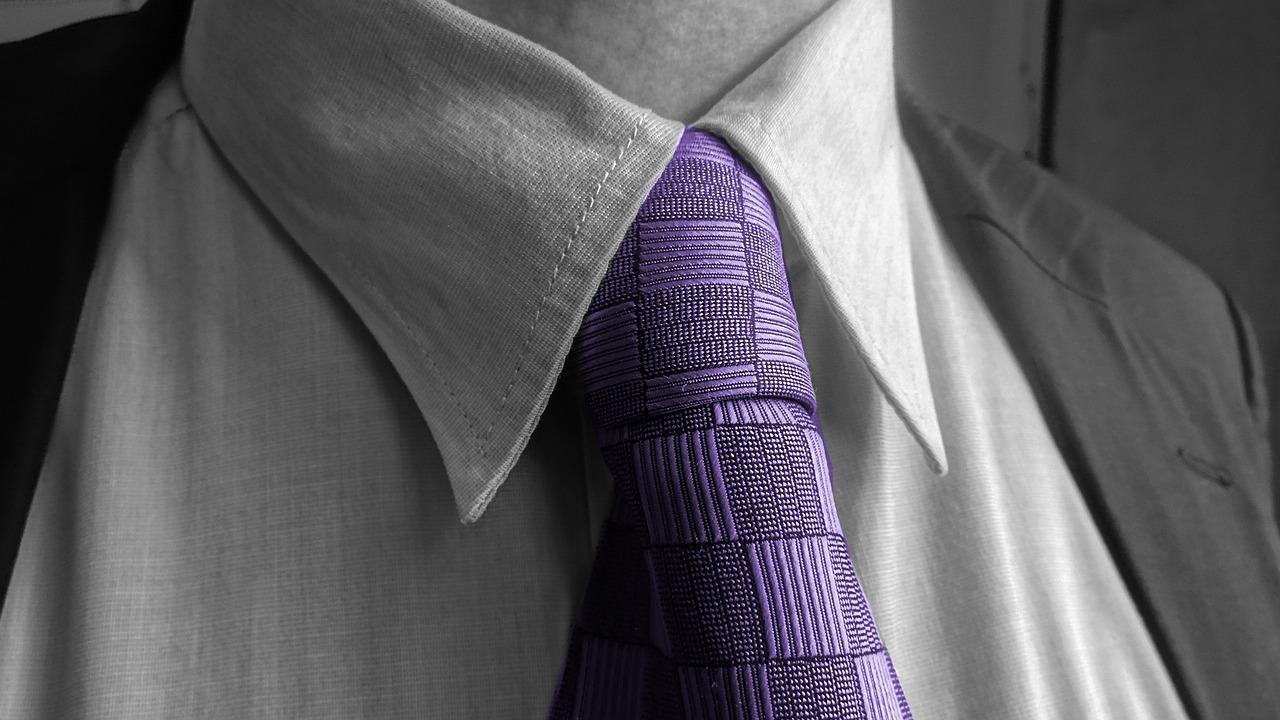
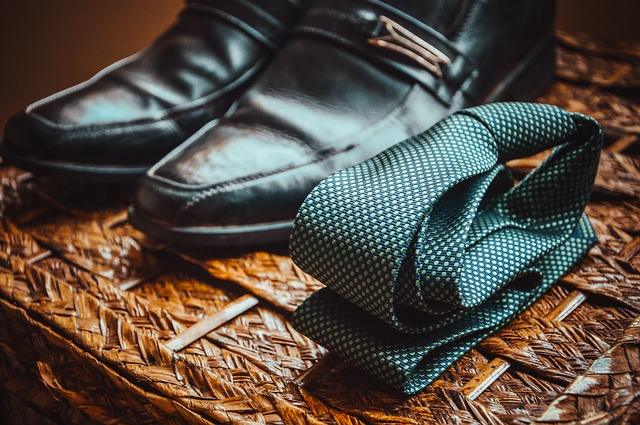
People relate to a tie differently. Some believe that it emphasizes the individuality of a person, others - that this accessory is one of the important and indispensable attributes and is required for business people. It all comes down to one thing: a tie will not go out of fashion, as long as there are people who are trying to emphasize individuality, stand out from the crowd.
Stylists claim that for a man a tie is like for a woman footwear. By tie you can determine the impeccable taste of its owner. However, not everyone decides to purchase an attribute worth more than 3 thousand rubles. Therefore, craftswomen sew ties on their own. Before we talk about sewing, let's plunge into the past.
Tie history
The origin of the word is interesting. It came to the Russian language from the Germans. German Halstuch means "neckerchief." It takes its origins from the French word “cravate”, which is also reflected in the Ukrainian language - “Kravatka”, slightly changing the French.
The French word itself probably came from the Croatian language. Even in the time of the distant thirty-year war, the French noticed that Croatian riders had scarves tied around their necks. The French, pointing to their neckerchiefs, asked the Croats, "what is this?" The Croats thought they were asked, “who are you?” And immediately answered “Croatian”. So the French word “cravate” appeared - “tie”, and already from France it migrated to other European languages.
The first mention of ties is attributed to the history of Ancient Egypt, where a piece of fabric of strict geometric shape was thrown over the shoulders, which indicated the social status of a person in society. In this era, the Chinese also preferred ties. There is evidence of this in the form of stone statues, near the tomb of Emperor Qin Shihuan Di, on whose necks are visible armbands reminiscent of modern models.
In the 17th century, it became an attribute of men's wardrobe. If in England wearing a tie was not welcomed by men's fashion, it is unlikely that he would have acquired such significance in the business world. Wearing and tying elevated to the rank of the highest art.
In the 19th century Honore de Balzac wrote a whole book about the art of wearing a tie, describing everything as an aesthetic necessity. In 1924, Jesse Langsdorf, an entrepreneur from America, patented a tie, which they began to call ideal. Since then, it is sewn from three parts, cut along the oblique.
A tie has ceased to be the privilege of men’s wardrobe. Ladies, without much embarrassment, borrowed, along with trousers, an accessory, where they gained a certain sexuality, giving the owner a certain extravagance and even daring.
Often a tie of a certain color or style is required for publication, which is not always possible to buy (either the prices “bite” or the colors are not the same), so people try to sew some models on their own.
Elastic tie
It is not difficult to sew a tie with an elastic band, if you have sewing skills. You will need a pattern that is easy to find on the Internet, and the gum itself. Such a model is popularly called "herring" because it is narrow and in shape resembles the body of a herring.
To transfer the pattern, an A4 sheet is enough. The pattern consists of four parts: the main part, the knot, the front part of the elastic band and the lining part (lining corner). To sew a tie of 37 cm, take a piece of fabric 40x40. For the cushioning part, flanging is used, for the nodal part - glue. Usually this is non-woven, with which the tie holds its shape.
Pattern the pattern and fold along the fold line.Carefully cut and flip to outline the lining line. Material is cut along an oblique line. For this, a piece of fabric is laid out and a diagonal is drawn along which the pattern is oriented.
The pattern is ready, proceed to the main part of the work.
- Apply a glue base to the front, then iron with a hot iron to shape.
- Fold along the fold line and sew, twist and iron with an iron so that the seam is in the center.
- Sew blanks.
The gum consists of three parts. The front part of the main fabric and the two side parts of the linen gum.
- Iron the front part together with the glue and collapse. On both sides get elastic and sew.
- In this order, do the work with the nodal part, which is stitched on one side to form a loop.
- Connect the details of the tie and the knot. Sew the fabric base of the gum to the upper seam allowances.
It remains to thread the main part into the hole formed by the part of the assembly and form the assembly. Get a decent tie.
Tie tie
First select the fabric and lay out the pattern. It was indicated above that there are patterns on the Internet. If there are difficulties with the formation of the template, redo the old tie, which no one has been wearing for a long time. It will become a template for the new.
Pattern
Make a pattern: the long part of the tie and a small piece, about 10 cm long (inner part). Do not forget about the cushioning fabric and consider the seam allowances, about a centimeter.
Sewing
Sew the details. Fold the upper part along the tie, and secure the place of folding with pins. Next, manually sew the folded edges carefully so that no stitches are visible from the outside of the tie. Do not lose sight of an important detail: put a corner from the lining on the main part and sew it, then turn it out and iron it.
The loop
One more step in tailoring is stitching a loop. Cut a strip of fabric 4 cm, be sure to oblique, and fold the front part inward, secure with pins. Lay one line in the center of the strip, then turn the part out and go with an iron. Sew the loop so that it grabs the top layer; tighten the threads above the loop. It remains to connect the wide and narrow ends of the tie. Iron the finished accessory with an iron. Ready again!
Edge processing
- On the base of the tie, draw a line that designates the boundaries of the corners, on the lining, also draw a line (the lines should coincide one in one).
- Walk along the lines with an iron, mark the angle clearly, the further view depends on this. Next, put on the front side of the base, the front side of the corner from the lining, clearly align the angles, secure with pins.
- Sew from the corner to the edge of the cut, measure the angle again by sketching it.
- Sew the second side as the first, turn the corner and iron. Sew the sides of the corner, twist the corner structure and iron again.
Video instruction
It will turn out a beautiful and neat edge of the corner of the tie.
How to tie a tie
Consider a simple way to tie a tie.
- Wrap the tie around the neck, the wide side should be on the right and longer than the narrow side. The wide side will partially go to the formation of the node.
- Take the wide end with your right hand and throw it over the narrow one (the wide part is skipped under the narrow one).
- Wide part to the end, wrap the narrow part from right to left. Thread the widest part of the tie.
- Make a loop at the front of the assembly and pull the wide part through it.
- Tighten the loop and straighten the knot.
The tie is tied!
We sew a bow tie with our own hands
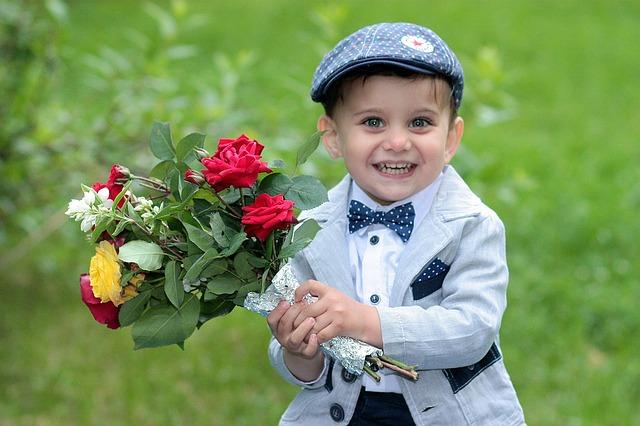
A bow tie is a narrow strip of fabric that is tied in various ways around the collar of a shirt.
An interesting fact: for the first time such a tie appeared in Europe in the 17th century to fasten the collars of a shirt. As a decorative part of the wardrobe they began to perceive later. Today, a strict dress code has been introduced for events or social events where you cannot appear without a “butterfly”.
Sewing is easier than the two previous ones, it is enough to master the basic basics of sewing. There are several options for tailoring the "butterfly".
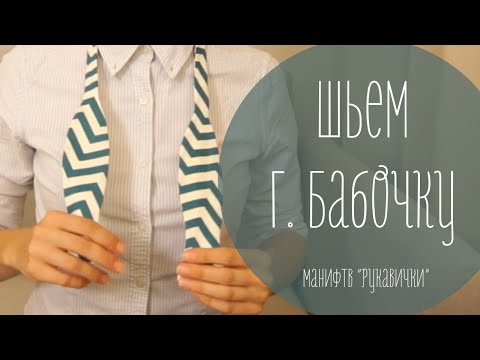
First option
It will take a few flaps of fabric, 50x13.5 cm - the main part, 50x2 cm - on the fastener, 8x4 - the transverse part. You will also need a special set of fasteners for a tie.
- Fold the blank in half with the front side inward and stitch the edge.
- Turn to front side, iron. Iron so that the seam from the fold is offset by 1 cm.
- Using an iron on the workpiece, mark the middle and ¼ of the length of the workpiece.
- Fix the quarter line with a seam, departing from the edges by 1 cm and form a bow so that the sections overlap each other by 3 cm.
- Sew a zigzag seam exactly in the center, which allows you to easily form a crease that needs to be fixed with hand stitches.
- Iron the flaps of fabric for the fastener along the edges by 0.5 cm, fold in half and stitch.
- For the transverse part of the tie, iron 1 cm on one side and 0.5 cm on the other.
- Bend the part along and iron again, you can not squander, but use special glue for the fabric.
- We assemble the finished parts, fasten the tie fasteners with a hand seam and, you can try on the outfit.
Second option
To get started, take a measurement (neck circumference) or use standard sizes.
- Cut a ribbon of 35 cm and 5 cm wide, fold along, face inward. Sew the edges and twist.
- Sew on the edges of the strip, iron it well and sew the contact tape so that the strip can snap into the ring.
- Sew 2 more pieces: a wide fabric strip of 23x4 cm, and a narrow 7x1.5 cm.
- Form a “butterfly” from a wide strip of fabric. To do this, sew it in a ring and fold the bow (it is formed so that the seam is at the back, exactly in the middle).
- Sew the bow to form pleats. After the bows, sew to the main long and narrow strip, and sew a short strip across the bow.
The tie is ready! If the fabric is made of black silk, the copy will be exquisite.
Tie Colors
A tie in peas is suitable for formal occasions. Geometric shapes will create a relaxed image. A checked tie suits a non-business setting and looks good with a cardigan or flannel jacket. A striped model will help in creating a business image.
Please note, ties are matched to the color of the suit if the shirt is dark. If it is motley and light, tie the accessory plain and vice versa.